Taken from:
-
Description:
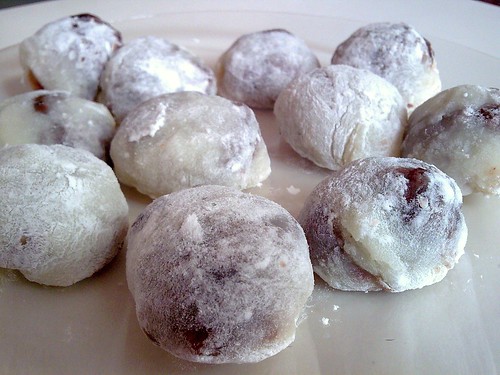
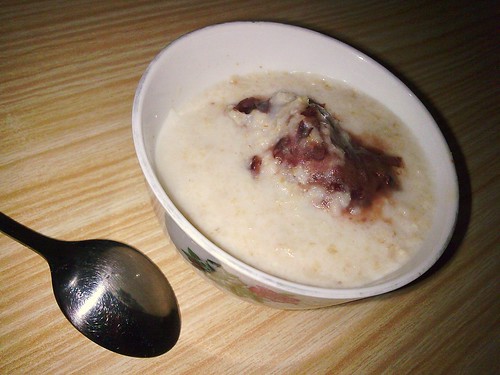
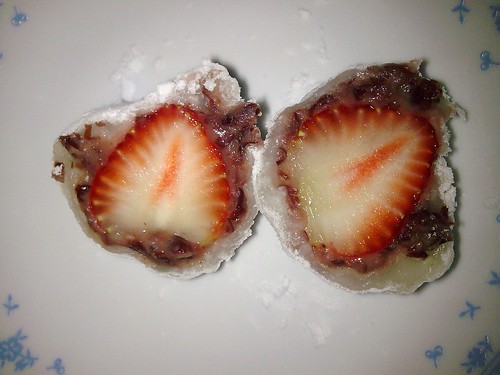
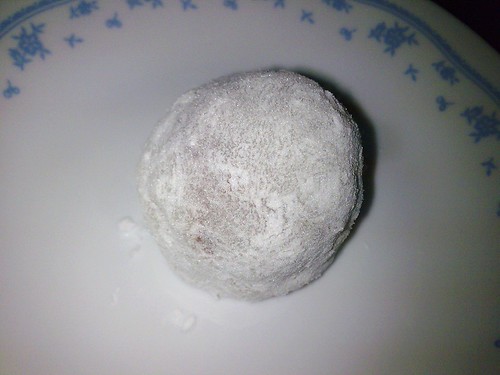
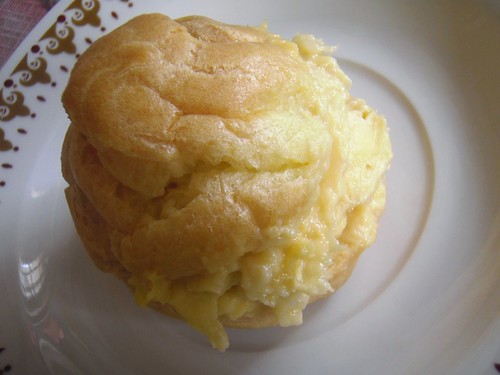
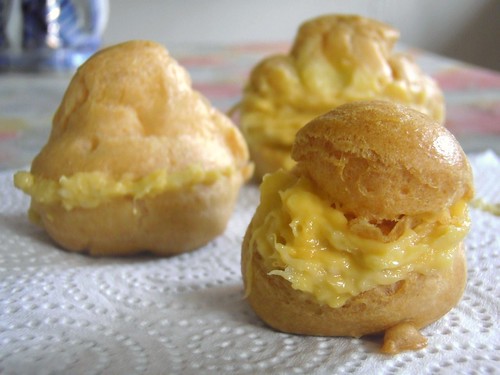
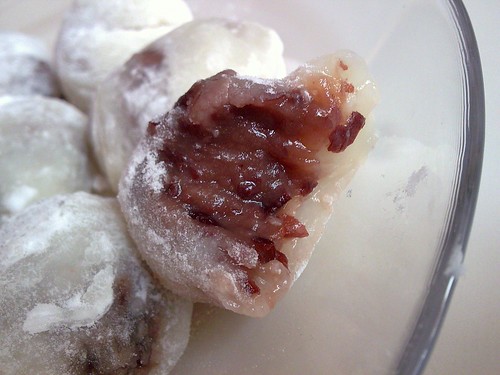
Soft chewy glutinous rice balls stuffed with red bean paste~
Ingredients:
125 g glutinous rice flour
2 tbsp icing sugar
125 g water
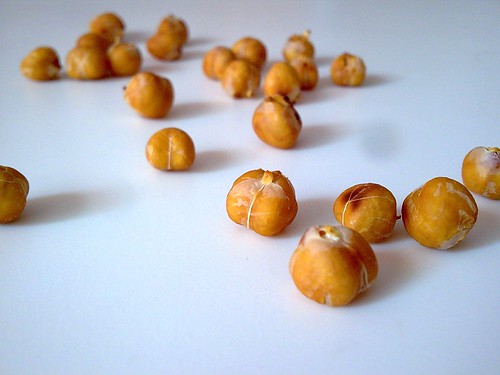
250 g anko
Directions (12 mochi):
1) Split anko into quarters, and subsequently into 3 each to get 12 balls in total.
2) Shape each piece of anko into a ball and freeze for at least half an hour.
3) Dust baking sheet with potato starch.
4) Add glutinous flour and sugar together in a non-stick bowl. Mix in water with a spatula and make sure there are no lumps.
5) Steam the batter for 15min.
6) Stir the mochi until even and put it on the baking sheet. Dust mochi and hands with potato starch. Split the mochi into quarters and then into 3 parts to get 12 mochi balls.
7) Shape each piece of mochi into a flat circle, dust off starch with brush and add in the anko ball. Spread the mochi to cover the anko, dusting with starch if it gets sticky. Work quickly as the mochi will not stretch enough to cover the anko ball once it cools.
8) Store at room temperature, best eaten on the day itself.
Remarks:
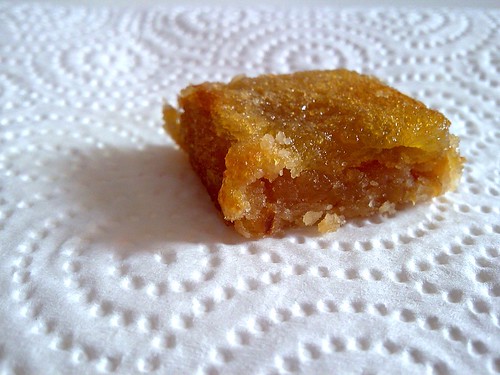
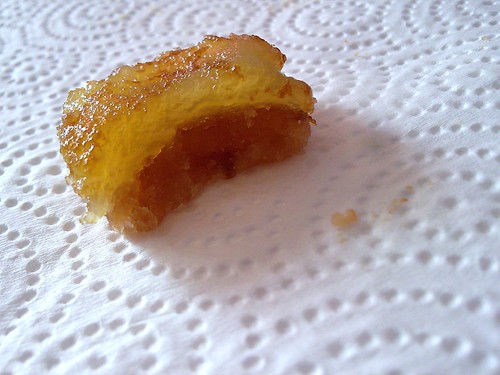
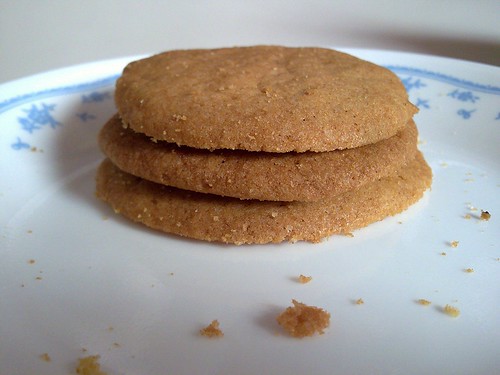
I had some difficulty shaping the mochi and covering the honey anko balls as I worked pretty slowly resulting in the mochi losing their elasticity. Apart from that, I didn't freeze my anko enough so it was hard to contain them within the mochi skin. Making mochi is really demanding and requires a lot of skills! Oh, don't make them too immaculately rounded, since imperfection is the hallmark of hand-made goodies =p
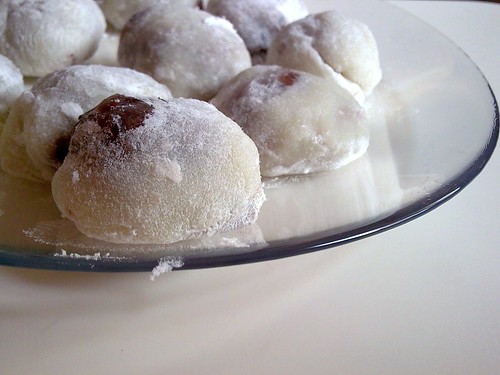
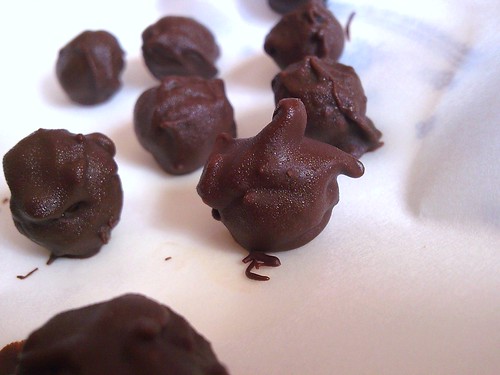
However, if they appear as shown below, hide them well and don't let anyone catch sight of them to avoid embarrassment! =p